How to harvest seeds from your native plants
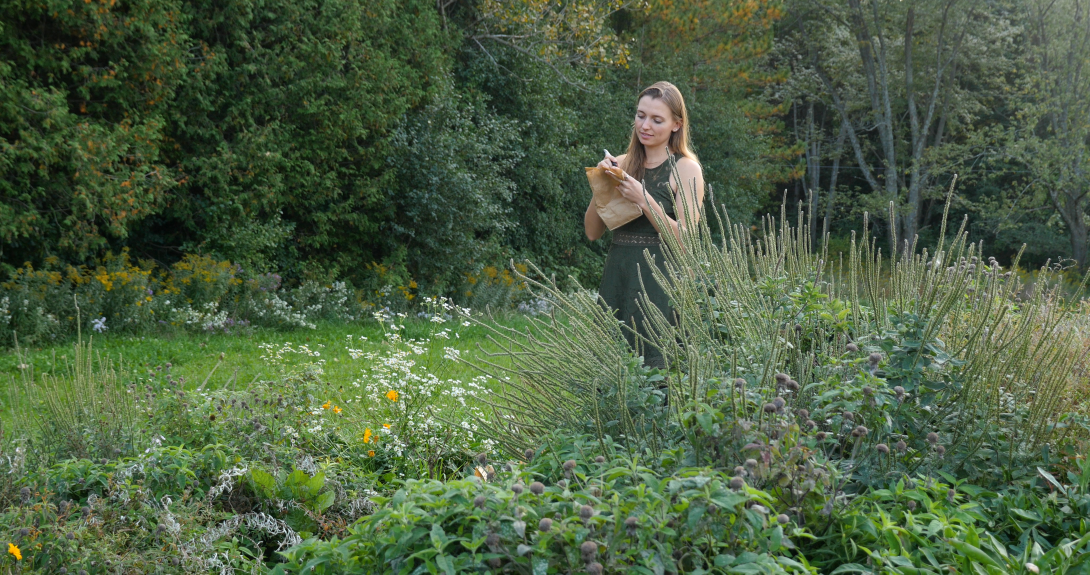
You’ve carefully selected native plants, planted and tended them. You’ve been enjoying their blooms, foliage and scents all growing season and now their glory is spent. What next?
It may seem like the show is over, but these plants still have gifts to give before the year is out. Fall is the perfect time to harvest the seeds of many native plant species. You can use these seeds to grow more plants and expand your garden next year or share them with others and help more native plants take root across your community.
How to tell when seeds are ready to harvest
After a plant is done flowering, seed will start to form. The seed is ripe and ready to harvest when it starts to come away from the plant on its own. Different species drop their seed in different seasons, but many native plants drop their seed in the fall. The exact signs of ripeness vary, but generally ripe seed is brown, dry and falls away from the plant easily. Green or white seeds or seedpods are likely not ready.
To be more certain, you can do a “cut test.” Do this only with seeds that are large enough to safely cut in half; it won’t work for tiny seeds. Check to see if the inside of the seed looks plump, white and starchy — that means it’s ripe and healthy. If it’s wet, transparent or green inside, it’s not ripe yet, and if it’s black, brown or dusty, then it’s rotten. Test multiple seeds from the plant to be sure.
It’s a good idea to note when seed ripens each year so that you know when to get ready for harvesting in future years.
Sowing seeds
If you have a spot where you’d like to add more plants, go ahead and sow your seeds right away, in the fall, so that they come up next year. Or, you can clean and store your seeds to plant later (see below).
The seeds of native plants that drop their seed in the fall often germinate best when sown directly in fall because this mimics the natural seasonal cycles they have evolved with for thousands of years.
Note that, while most native plants in Canada can be sown in the fall, there are exceptions, including spring ephemerals like trilliums as well as poplar, birch and willow trees, which need their seeds on the ground in spring.
Some seeds, notably those in berries, are usually eaten and dispersed by birds or mammals and may need to be soaked in mild acid like vinegar or lemon juice, simulating stomach acid, in order to germinate.
You may want to wait until after peak fall bird migration to do your fall sowing to minimize the number of seeds that get eaten. When the time comes, rake up the soil, broadcast sow (sprinkle seeds evenly over the ground), pat the seeds down and cover them with leaves. For larger seeds, use a trowel to bury at a depth two to three times the width of the seed. Now, sit back and wait to see how many come up in spring!
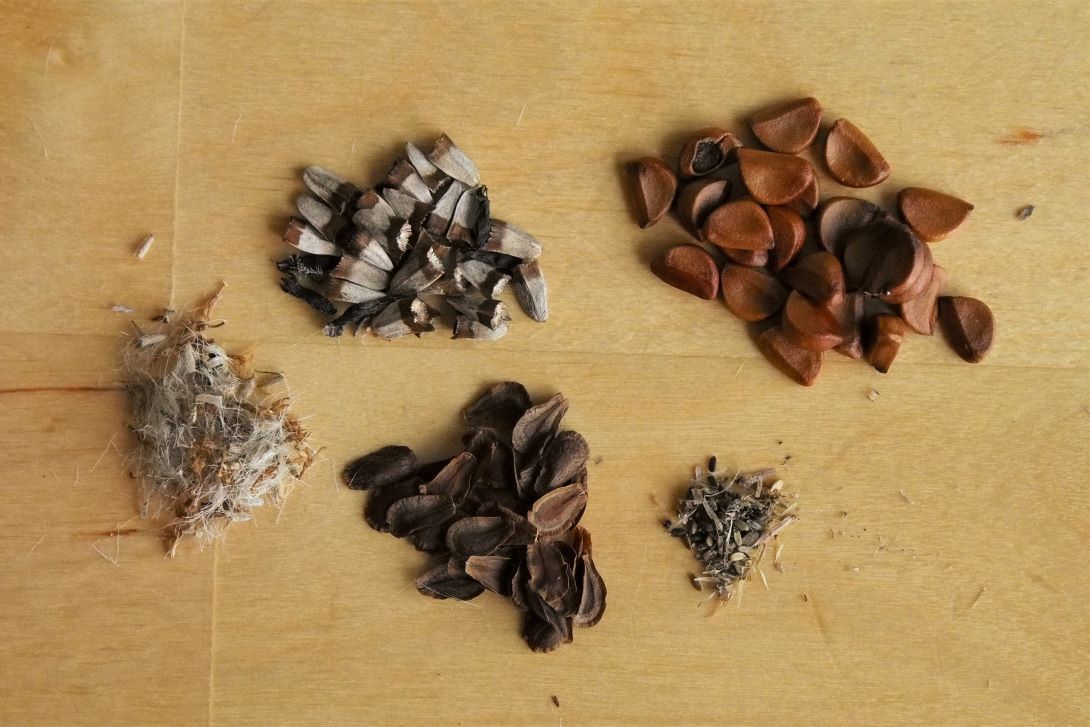
Cleaning your seeds
Before storing your seeds, you should clean them by separating the seeds from the plant material (chaff).
Here’s how to clean the four main types of seed:

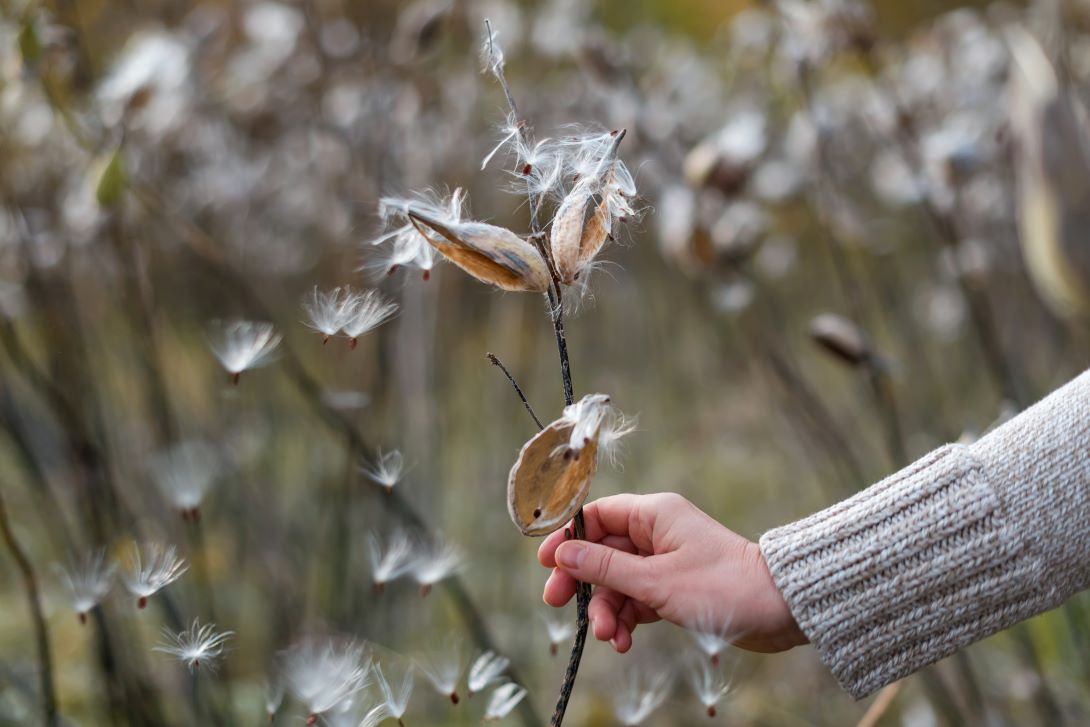
Fluffy
Examples: milkweed, goldenrod, aster
Separate seed from fluff using gloves to rub seed together over a collection bin. Screens that are big enough to let the seed through can be helpful for separating the seeds and chaff.
Capsule
Examples: wild bergamot, blue vervain, black-eyed Susan
Each seed is in a tube called a “calyx.” In nature, the wind shakes them out of these tubes. Cut off the entire seedheads, put them in a bag, and shake vigorously. Seed will come out of the tubes and gather at the bottom of the bag.
Pod
Example: Canada tick trefoil
There are few perennials that have seeds in pods, but Canada tick trefoil (Desmodium canadense) and other Desmodium species do. With small amounts, it’s possible to pop the seeds out one by one. For larger quantities, consider using a coffee grinder (one or two pulses) to break up the pod.
Fleshy (berries)
Examples: Jack-in-the-Pulpit, Virginia creeper
Generally, seeds should be separated from the fleshy fruit and a modified blender can be very handy for this. You can wrap the blender’s blades in several layers of duct tape to protect the seeds from the sharp edges. The blades will still crush up the berries. Wash away the pulp and, with the aid of a strainer, pick out the hard seeds. Cleaning and storage requirements for berry seed varies depending on the species.
Storing your seeds
Harvested seed should be left either in open containers or paper bags, in a dry area. Make clear labels that live in the seed to avoid forgetting which type of seed is which.
One trick to keeping seed dry is repurposing desiccant packets from consumer goods (those packets that say “DO NOT EAT”). You can toss them in the same box with your seeds to absorb moisture.
Long term storage (greater than one year) requires some special conditions:
- Seeds must be completely dry.
- Refrigeration (not freezing) can lengthen viability.
- Seeds should be stored in a sealed container since the air in the fridge is moist. Mason jars work well for this.
- Good labelling practices are doubly important. Make sure you include the date that the seed was harvested.
Next steps
By November or December, your seeds should be dry enough to share with family, friends and neighbours. Alternatively, you can start preparing seeds to germinate and grow into new plants next spring. Visit re:grow, WWF-Canada’s how-to hub for growing native plants, to learn more, and try searching for the plant species on Prairie Moon Nursery for detailed instructions for germination (look for “Details” then “Germination Code”).